Tired of looking at empty walls? Are they begging for attention? Maybe it’s time to turn drab walls into spaces splashed with personalized style. It may seem perplexing at first, but with the right tools and a touch of creativity, you can assemble gallery walls quickly.
WHAT YOU’LL NEED:
- Level and tape measure
- Step stool
- Hammer and nails
- Power drill/hole punch
- Picture hangers (D-rings, sawtooth hooks or hanger wire)
- Lots of imagination
STEP 1: GET IT ALL TOGETHER
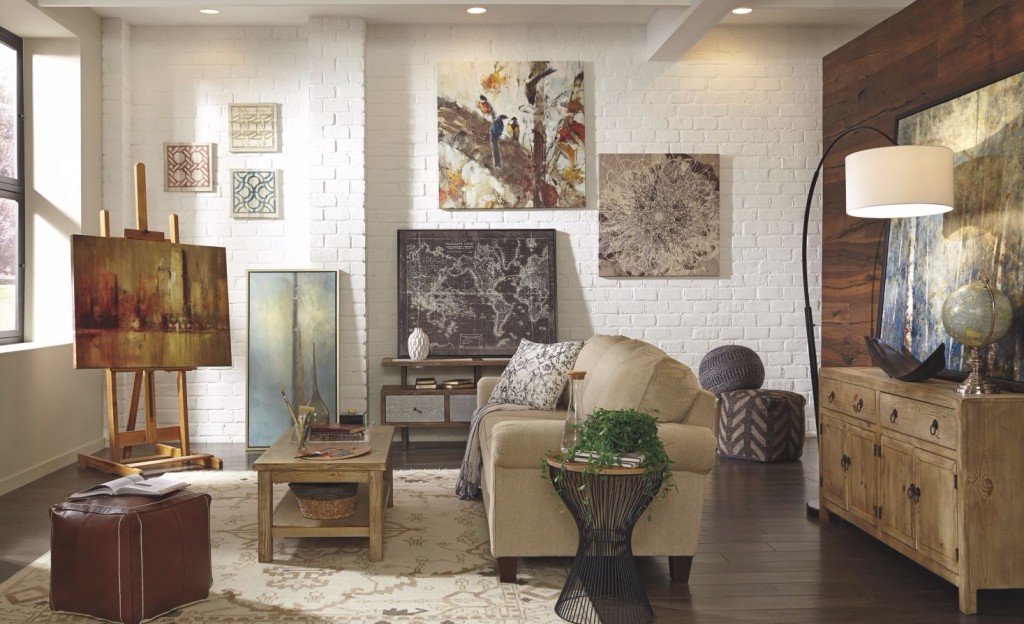
Take time to reflect on your passions and interests. Then, pool your ideas to create a theme. Gather what you want to display. Whether it’s a group of photos you took or perhaps artwork, posters, children’s drawings and family photos—there are no limits on what you can use. For example, if you love New York City, find photos, posters, and artwork that are associated with the city. Expand your selection to include sculptures, artifacts, old calendars, movie posters or illustrations. Sculptures and artifacts add a dimensional aspect when displayed in shadow boxes. You can round out your collection with accessories from AshleyHomeStore.com for that instant curated look.
STEP 2: DECIDE WHERE AND WHAT TO DISPLAY
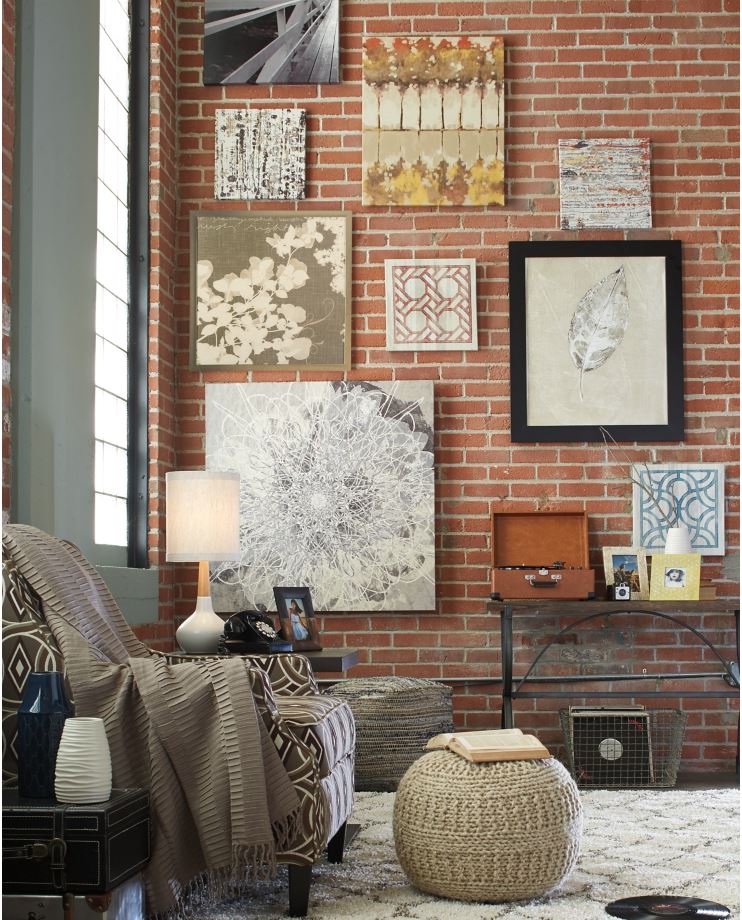
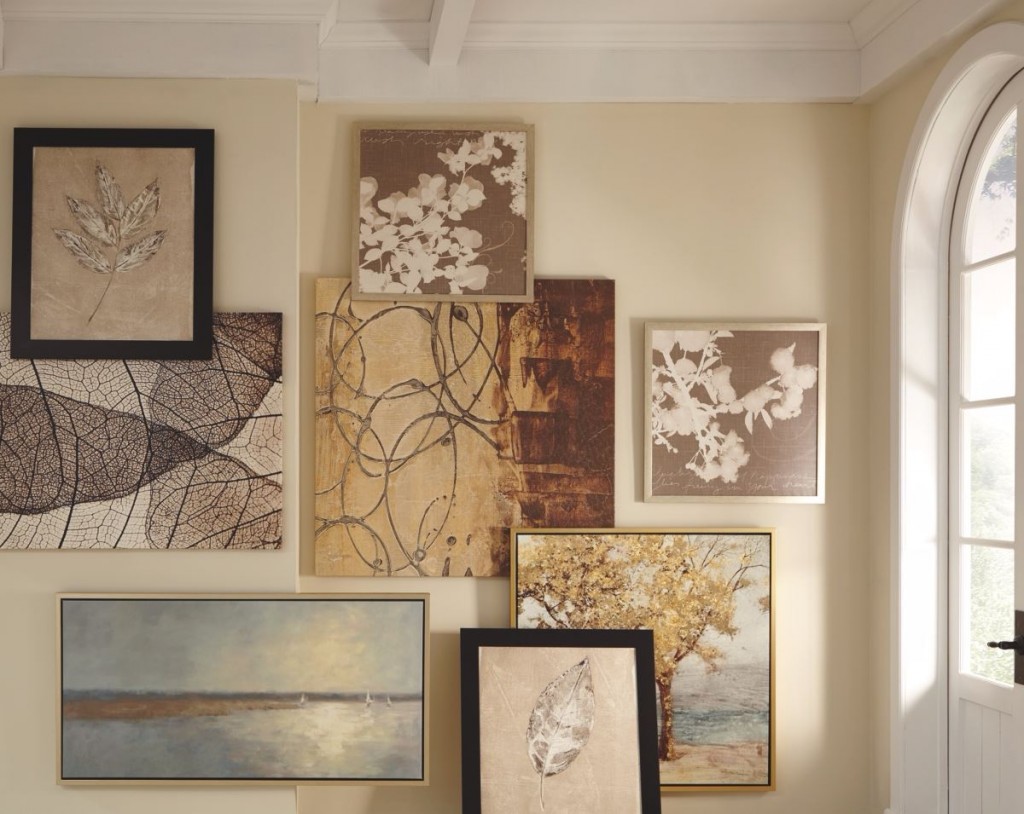
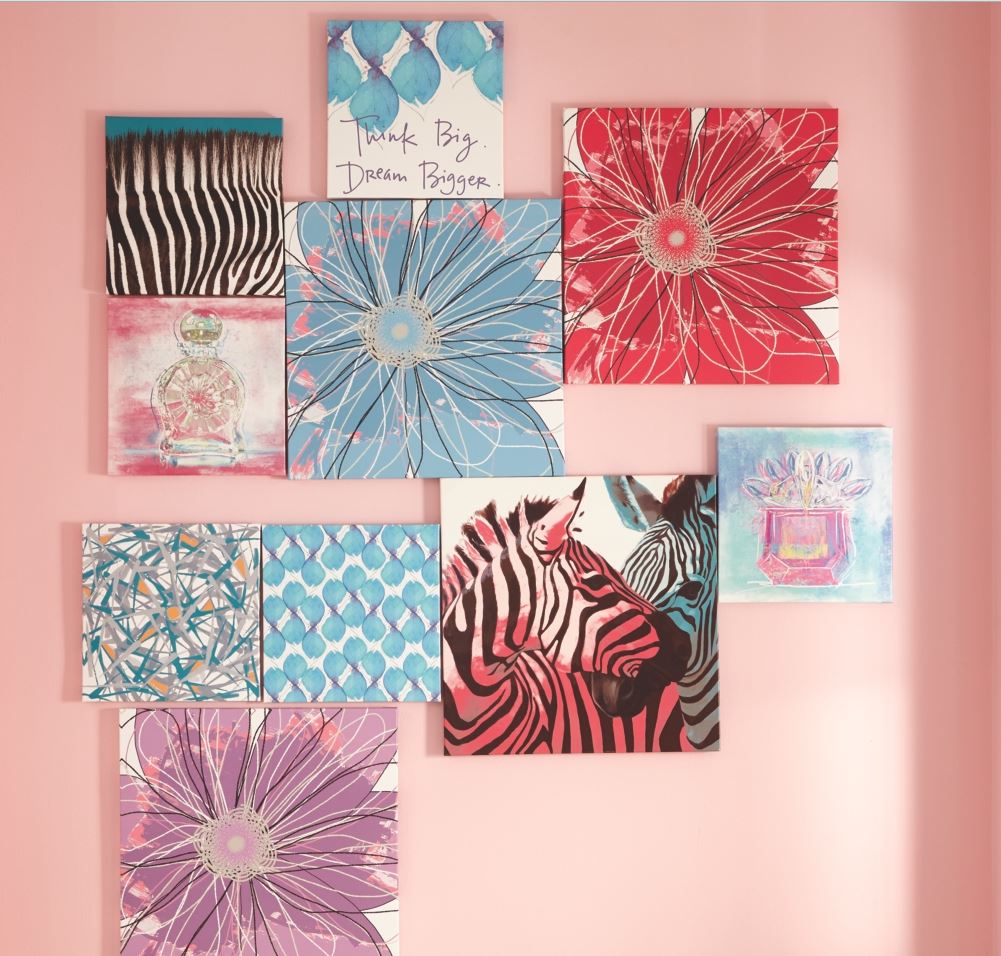
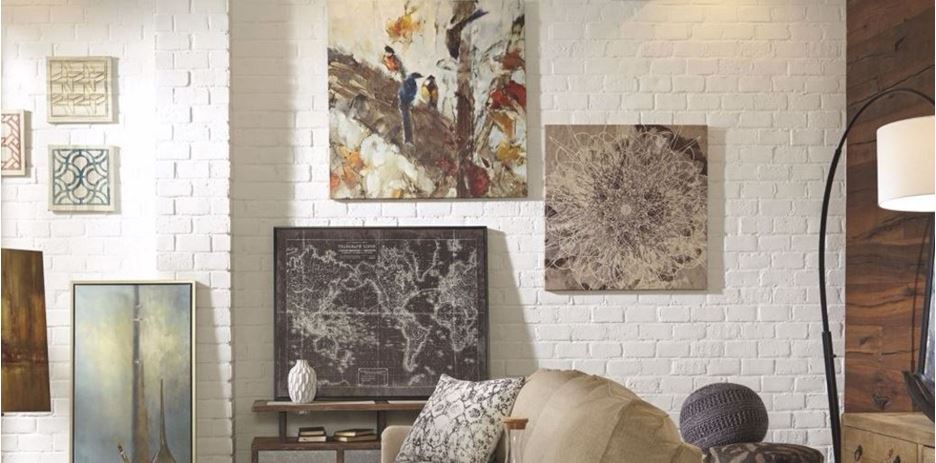
The days of placing a single picture above a piece of furniture have passed. Now you can hang multiple pieces of art in unique patterns. Decide where you want your gallery wall and how you’re going to assemble it. When selecting your artwork, look for pieces that will balance with the tones of your room’s furniture and follow a common theme, style or image palette.
For a calming effect, use soft palettes with splashes of color to complement the furniture. In bedrooms, create a restful effect by limiting the gallery to two simple rows.
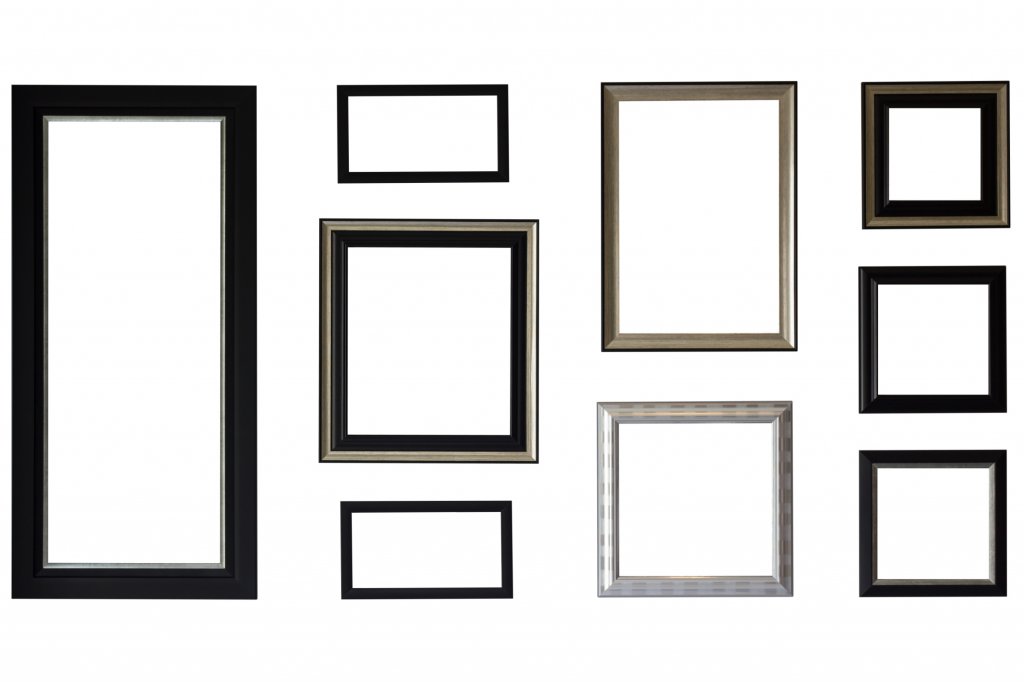
Purchase frames in a color or style that will keep everything unified. Black frames can be used to create a contemporary look. Reclaimed frames are perfect for an eclectic look.
If you want originality and flexibility, collect an assortment of boxes. Attach them together with double-sided tape and create a gallery made of boxes to be hung. Add wallpaper to the inside of the boxes and place 3-D treasures, photos and postcards in each box. The best part—your unique collection can be updated with ease.
STEP 3: HANG AND ENJOY
- Plan where you will hang the frames by cutting the shapes of the frames out of a poster board or cardboard and use painter’s tape to adhere them to the wall. Move them around until you land on the perfect arrangement.
- Begin hanging—you can do this on impulse or follow a few typical rules of thumb:
- Start with the largest item first and make this your focal point. Balance and symmetry are key.
- Work from the center out spacing each work approximately 1 ¼” apart, so each will stand on its own.
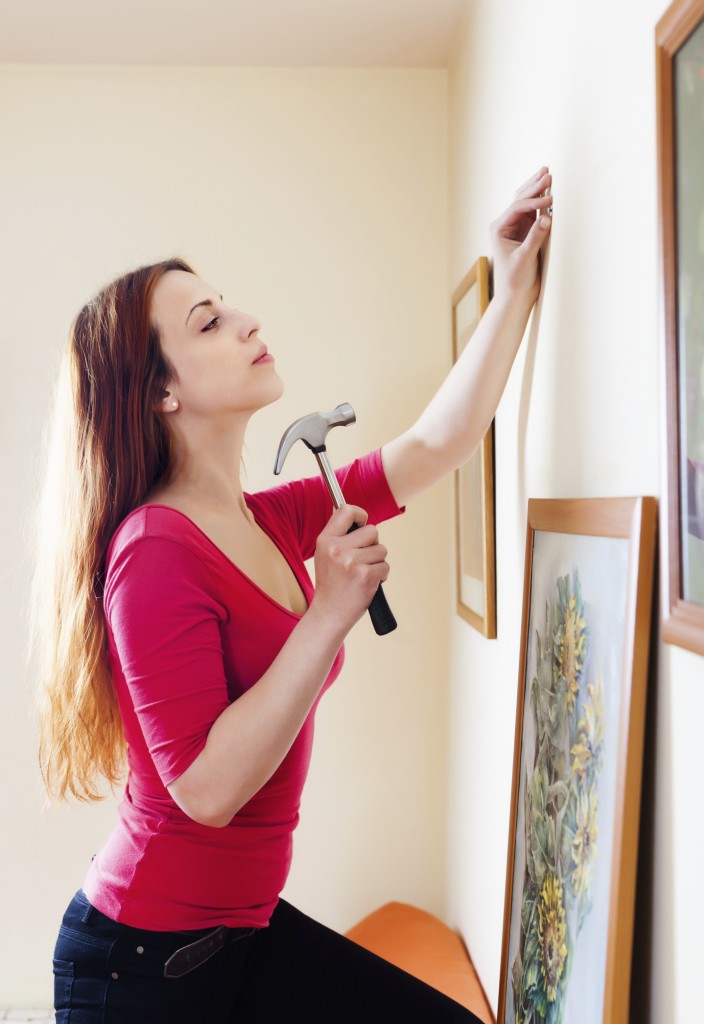
- Use a level and pencil to mark the holes before you drill.
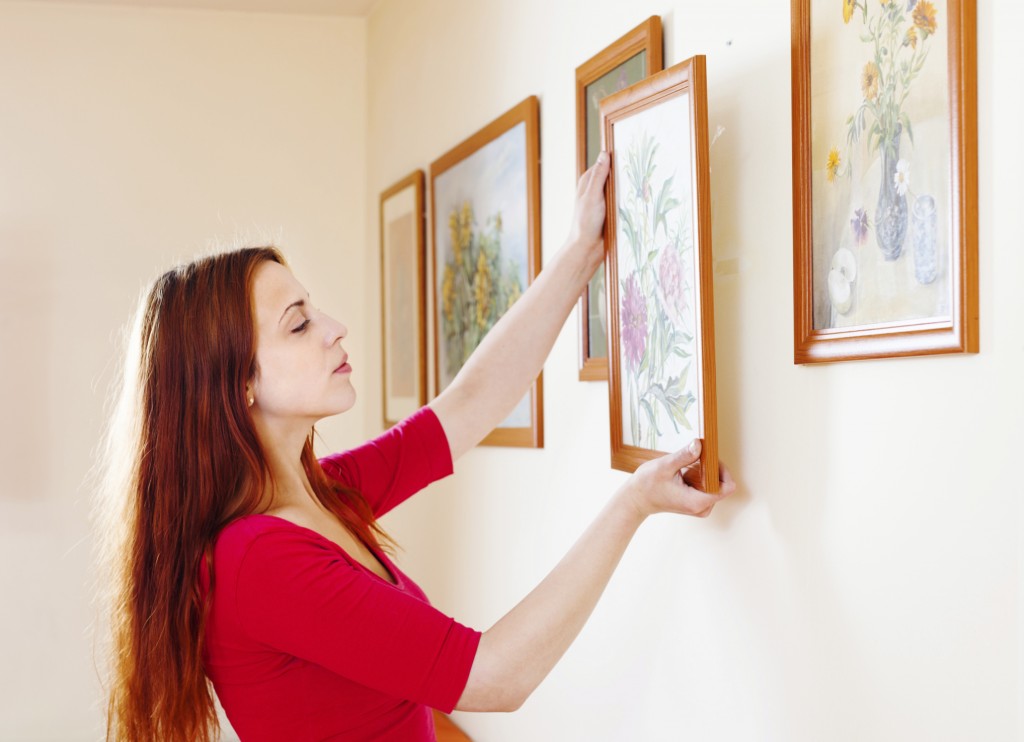
- Hang at eye level.
- Hang 12 inches above furniture.
- Another way to hang pictures that’s dramatic and draws attention is to stagger art along a staircase wall. Keep it near 59” in height and allow 10 inches from each stair. Add an extra punch by using a large piece of artwork at one end.
- When placing the artwork on shelves, layer your frames by placing them slightly overlapping each other for a casual vibe.
Once you have your gallery wall up, let the art take you back to places you’ve been or to the places of your dreams. You’ll find that your display will become quite a conversation piece to be enjoyed for years to come.


